Prepare 4 aluminum profiles and and some components.
Drill on aluminum profiles.
Install corner connectors.
Splice the first corner according to corner connectors already installed.
Splice other 3 corners.
Put edge-lit LEDs into slot of aluminum profiles to fasten.
Splices all other LED strips.
Install built-in power supply.
Connect power supply wire and LED wire.
Drill a hole for wire come outs of double-sided fabric lightbox.
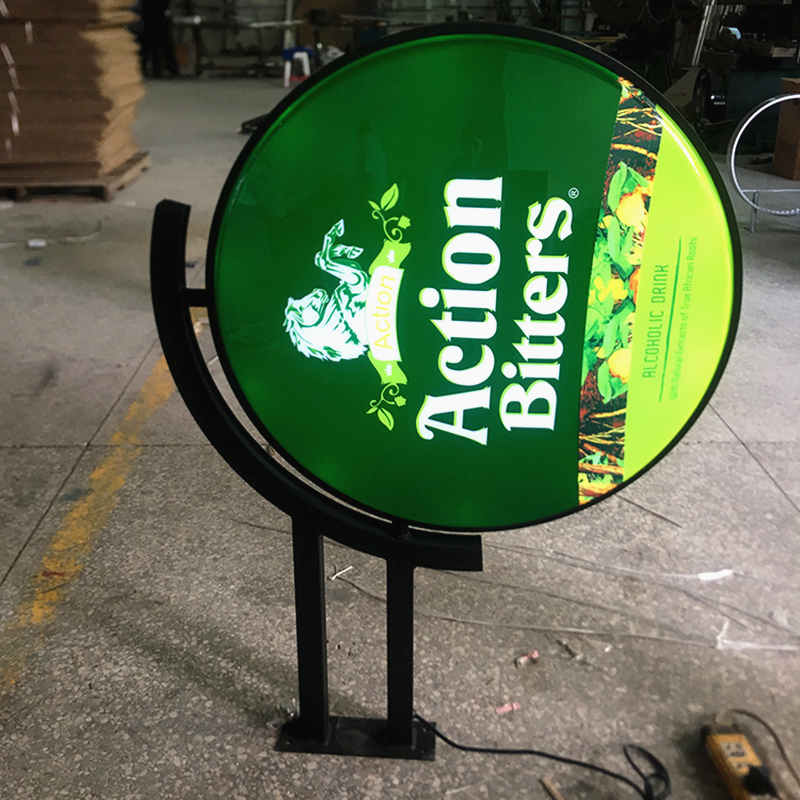
Install straight or trianglar base.
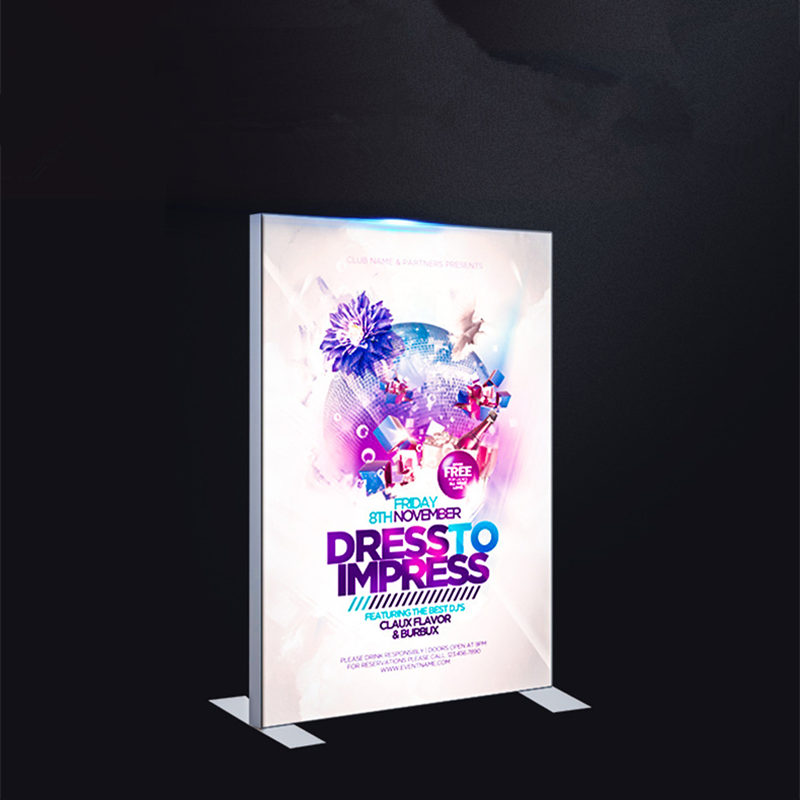
Install graphics on both sides of fabric lightbox .
Install finished.
Conclusion
Above are detailed steps for installing double sided fabric lightboxes.
Before installation, pay attention to check whether the accessories and tools are missing.
During the installation process, pay attention to order of above installation steps.
If you still have any question on installation, just contact our company TOPlightbox via. email [email protected], whatsapp/phone+8618033025232 for some help.
Silk and UV printing for acrylic light boxes Silk screen printing is to apply color through screen plate. Patterned part of screen plate can seep ink. Use a scraper to…
In production of LED acrylic light box signs, in order to enrich printing effect of acrylic light box, we will achieve this by applying spray-printed transparent backing film and light…
Widely used vacuum light boxes Nowadays, there are many forms of advertising expression. Whether it is outdoor signs or illuminated letters on the door, they are all good forms of…
Importance of maintenance of acrylic vacuum light boxes Maintenance and upkeep of vacuum light boxes is an important factor in ensuring that lightboxes have better use effects and longer service…